Automatic event tracking
Automatic event tracking is rolling out gradually and may not be available on your account yet. It requires the base Taboola Pixel to be installed on your site.
Overview
Automatic event tracking lets the Taboola Pixel detect meaningful interactions on your site without any manual event setup. Once the base pixel is installed, it automatically tracks clicks on your landing page and reports them as events, so you can turn the ones that matter into conversions.
This removes a common setup step: instead of defining each event and adding event code to your site, you can review the events the pixel already detected and create conversions directly from them.
To define events and conversions manually instead, see Defining conversions.
How it works
After the base pixel is installed, it listens for user clicks on your landing page and fires an event for each detected interaction. No additional code or configuration is required on your site.
Detected events are collected and surfaced in the Active Events tab, where you can review them and decide which ones represent conversions worth tracking.
Viewing automatic events
To review the events the pixel detected:
- Go to the Tracking tab in Realize.
- Select the Active Events tab. The events automatically detected on your site are listed here, alongside a banner: "Active events detected on your site are listed below. To track an event as a conversion, hover over it and select 'Set as conversion'."
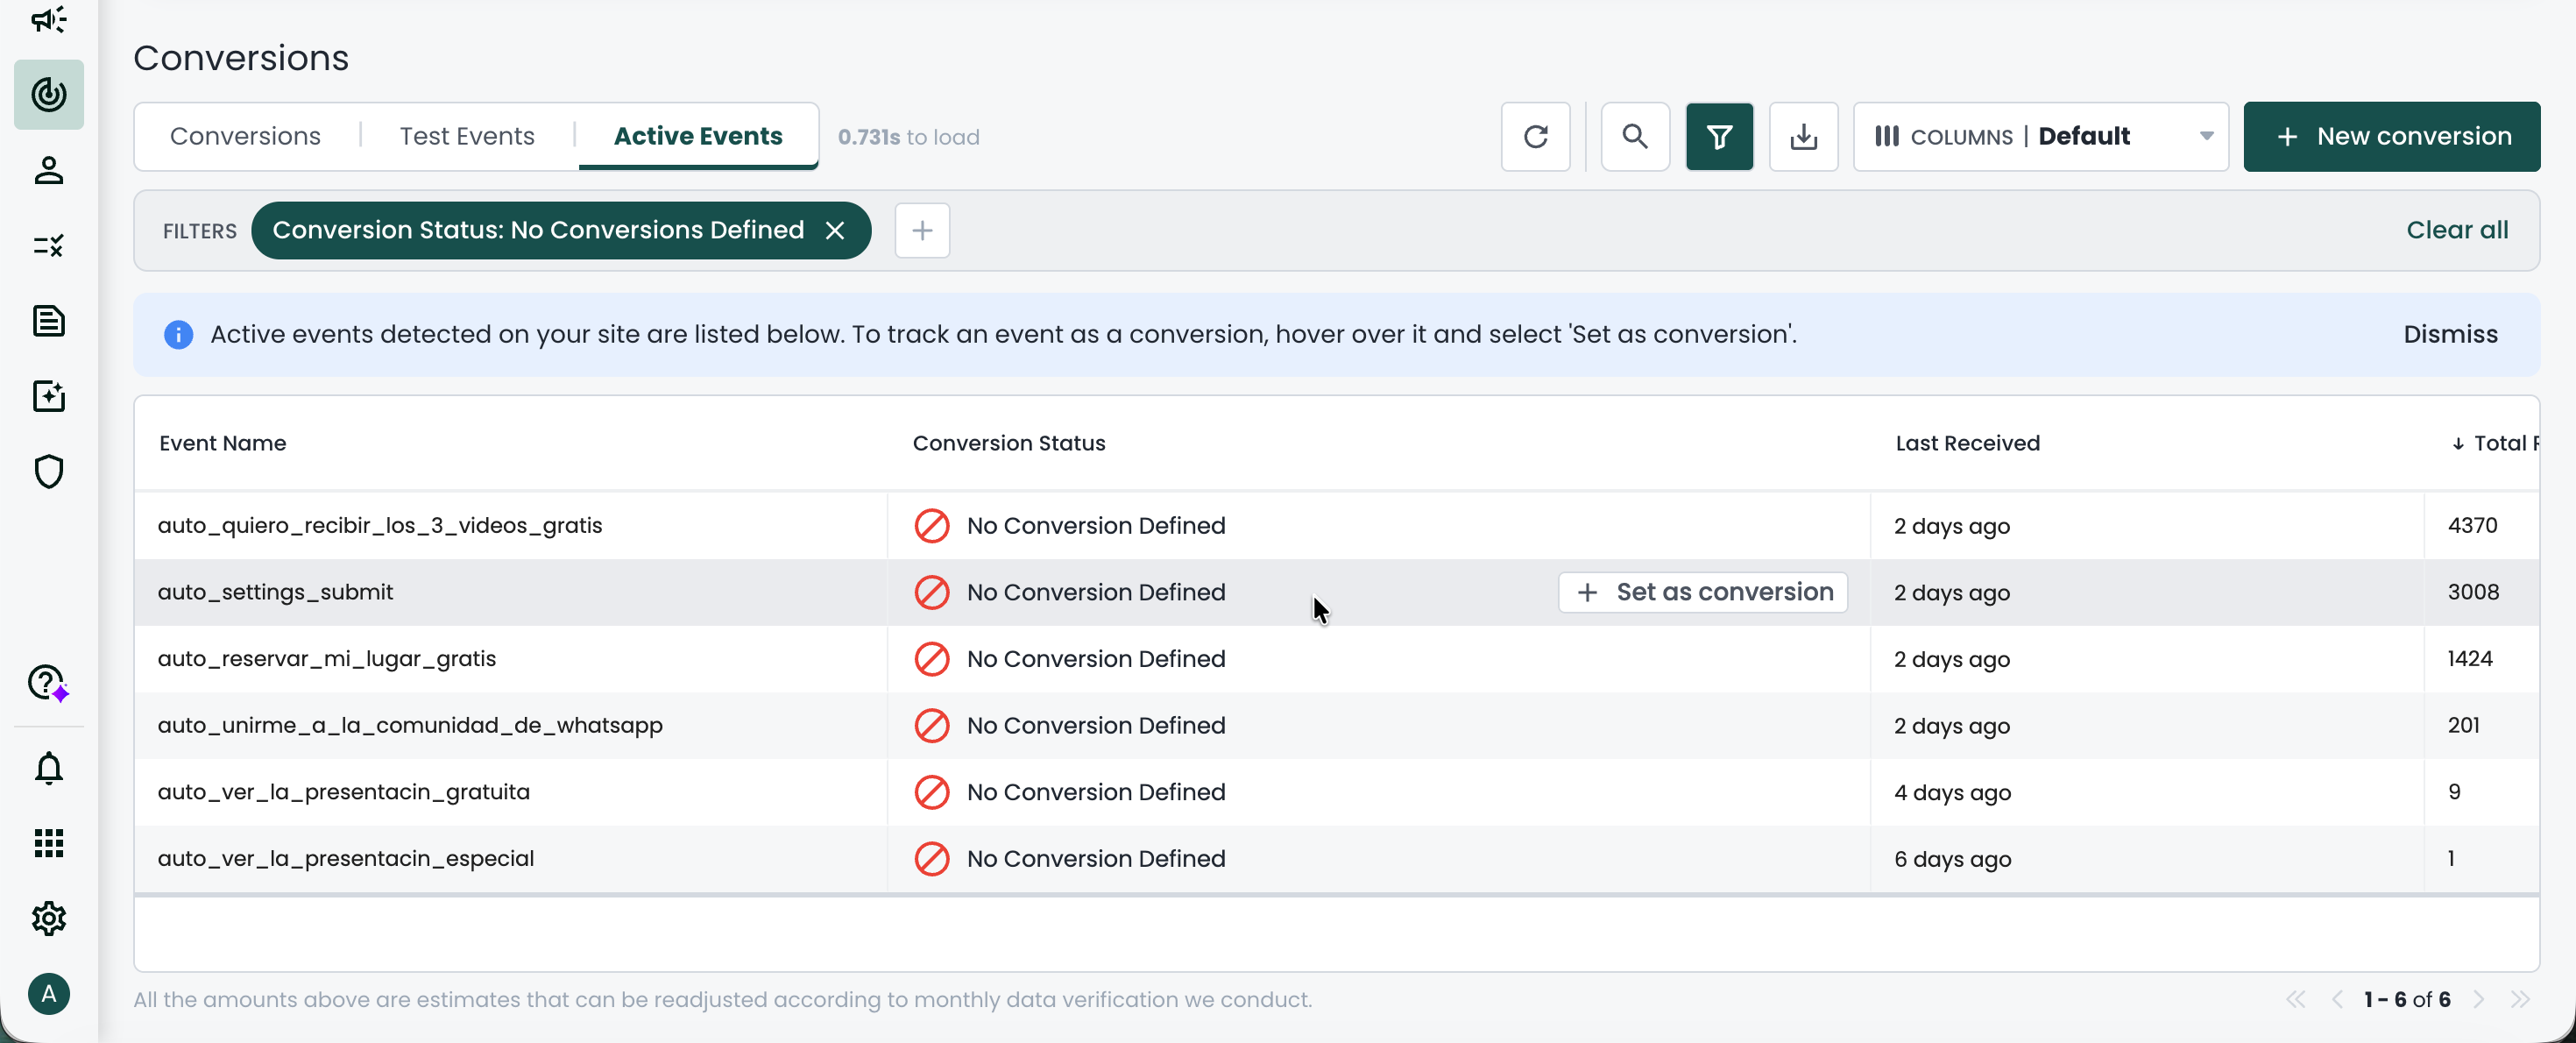
Each automatic event shows the following:
- Event Name - the name of the detected event. Automatically detected events use an
auto_prefix, for exampleauto_settings_submit. - Conversion Status - whether a conversion is defined for the event. Events with no conversion yet show No Conversion Defined.
- Last Received - when the event was most recently received.
- Total Received - the total number of times the event was received.
The Total Received values are estimates and may be readjusted based on the monthly data verification we conduct.
Creating a conversion from an automatic event
For any automatically detected event, you can create a conversion directly from the Active Events tab:
- In the Active Events tab, find the event you want to track.
- Hover over the event row and click
Set as conversion. The conversion creation form opens with theConversion Typeset toEventand theEvent Namealready filled in from the detected event. - Select the
Categorythat best describes the conversion. This is not set automatically, so you need to choose it. - Complete the remaining conversion fields as needed. For a full description of each field, see Defining conversions.
- Click
Create Conversionto save it.
The new conversion then behaves like any other event-based conversion and appears in your Conversions table.
Verify in real time that your tracking data is sent accurately to Realize with the Testing Tool.