Remove tags from Google Tag Manager
Disable or delete Taboola Pixel tags in GTM (Google Tag Manager).
Overview
Occasionally, you may wish to stop the Taboola Pixel tag from loading in GTM. You have two options:
- Disable tags (recommended) - Temporarily pause tags so they stop firing. You can re-enable them later without reconfiguration.
- Delete tags - Permanently remove tags from your GTM container. If you need them again, you'll need to recreate and reconfigure them.
Choose disable if you might want to resume Taboola tracking later. Choose delete if you're permanently switching to an alternative tracking method.
First steps
If you have not already done so, open your Google Tag Manager workspace:
-
Open Google Tag Manager.
(You may be prompted to log in with Google.)
-
Under
Container Name(left), click on the relevant container.Note the
Container ID("GTM-XXXXXXXX") on the far right.(You can change your selection later, by clicking in the top, left corner.)
-
Select a workspace (top, left), or just use the
Default Workspace: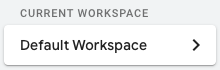
Remove Taboola tags
In your GTM dashboard:
-
In the navigation panel (left), select
Tags.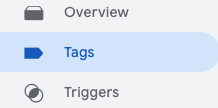
-
Locate any tags with a
NameofTaboola Pixelor similar. -
Click on a tag to open it.
-
To disable the tag: Toggle the
Enableswitch (top, right) toOFF, then clickSave(top, right).Disabled tags remain in your GTM container but won't fire. You can re-enable them at any time by toggling the
Enableswitch back toON. -
To delete the tag: Click on the
Delete icon (top, right) to permanently remove it.
 -
Repeat steps 3-5 for each Taboola tag you want to remove.
-
Confirm that all relevant tags have been disabled or deleted.
Removing the Taboola Pixel template
In order to delete the template, you must first delete any tags that use the template. If you only want to disable your tags, then skip this section.
In your GTM dashboard:
-
In the navigation panel (left), select
Templates: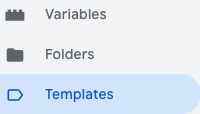
-
Locate the
Tag TemplatecalledTaboola Pixel, and select it, using the checkbox provided.If the template is not present, skip the template removal (next step), and continue below.
-
Click on the
Delete icon (top, right) to remove the template.
Preview your changes (optional)
Whether you disabled or deleted tags, your changes are not live yet - you still need to publish them.
You can optionally preview (test-drive) your changes before you publish them. If you prefer to publish your changes immediately, skip ahead to the next section.
The
Publishaction will publish all recent changes - including changes made by other team members within this GTM workspace.
When to use preview
- Other team members are making changes in the same GTM workspace.
- You want to confirm your setup before you publish it.
- You want to test why a tag is not working as expected.
In your GTM dashboard:
-
Click on
Preview(top, right). -
Enter the URL of the page where the customer journey begins (e.g. the landing page). Then click on
Connect:- The Tag Assistant is opened in a new tab.
- If the connection is successful, your webpage is opened in a separate window.
-
Once a connection is made, click on Continue.
-
Review the
Outputwindow to see which tags were fired: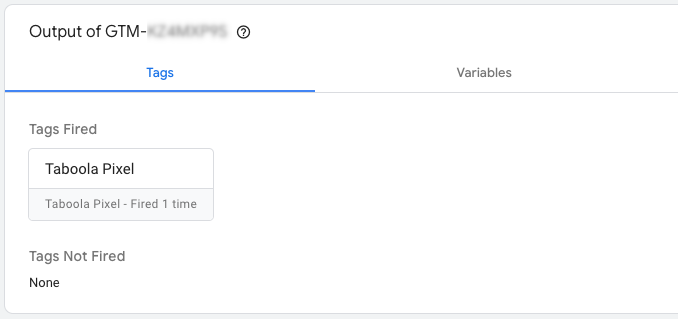
-
Click on the
Closeicon (top, left) to stop debugging:
-
Once you are done with the Tag Assistant, close the browser tab.
Publish your changes
The
Publishaction will publish all recent changes - including changes made by other team members within this GTM workspace.
- Click on
Submit(top. right). - Review the
Workspace Changes.This is the set of changes that will be deployed.
- (Optional) Enter the following fields:
Version Name- e.g."Disabled Taboola tags"or"Deleted Taboola tags"Version Description- e.g."Disabled all Taboola tags"or"Deleted all Taboola tags".
The above fields can help when reviewing a history of changes to your GTM container.\
- While you wait for GTM to publish your changes, sing like no one is listening :)
- Once published, a summary page appears.
Updated 7 months ago