Set up conversion tracking in WooCommerce
Install the WordPress plugin
In your WordPress dashboard:
-
In the sidebar (left), select
Plugins>Add Plugin. -
In the search box provided (top, right) type in
"Taboola Pixel for WooCommerce":As you type, the system automatically filters for matching plugins.
-
Look for the
Taboola Pixel for WooCommerceplugin and click onInstall Now(top, right):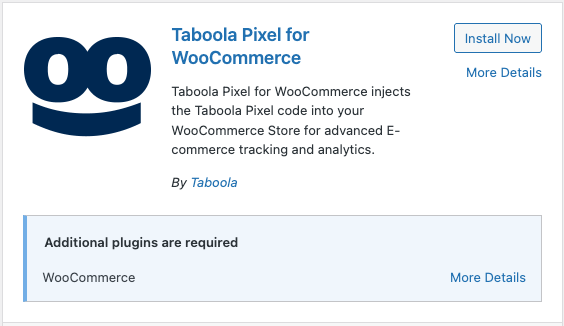
-
Once the installation has run, click on
Activate(top, right):
In the sidebar (left), select Taboola Pixel, and follow the instructions below to install the pixel.
Install the pixel
Once you have installed the plugin (as described above):
-
In your WordPress dashboard, select
Taboola Pixel(left). -
Click on
Connect Realize Account: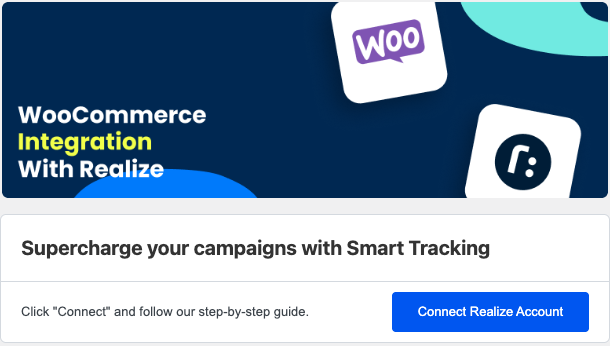
-
If prompted, log in now. (This step is not required if you are already logged in.)
-
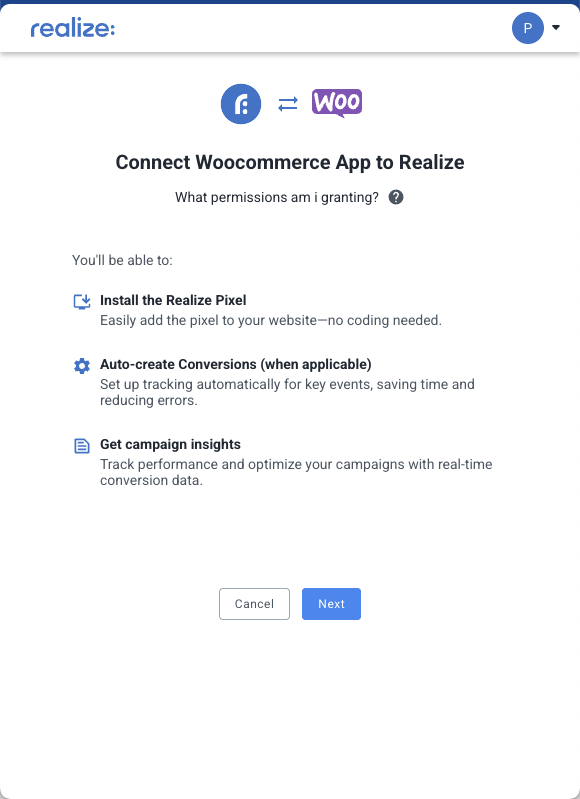
A Connect WooCommerce App popup appears. Click on
Next:If the popup does not appear, disable any ad blockers, and reload the page.
-
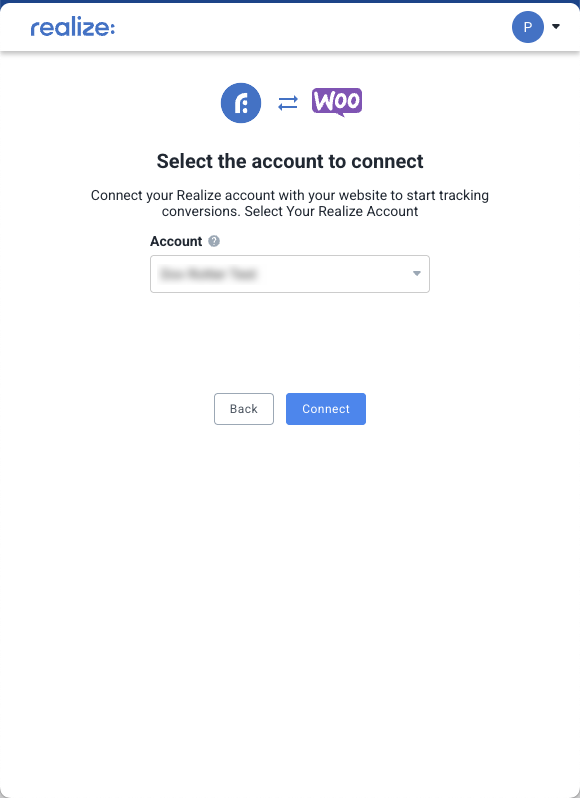
Select the Realize account that you will use to track conversions and click on
Connect:Tip: to select a different account, begin typing the account name.
-
Click on
Install Pixel: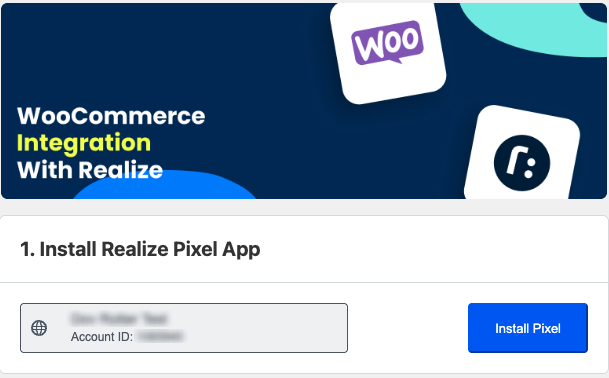
-
Upon installing successfully, a success message displays:
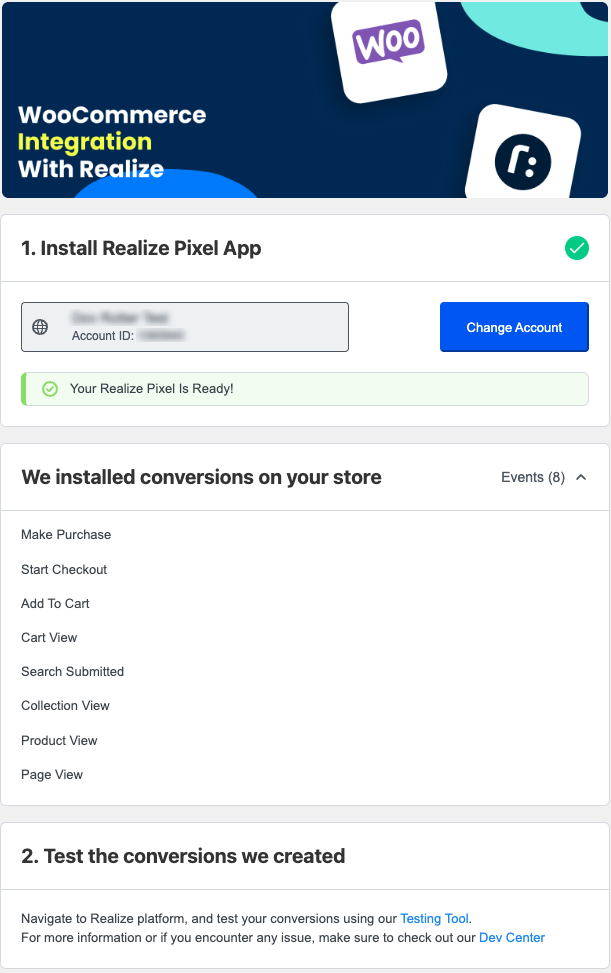
The above events are tracked automatically. No additional configuration is required.
What's next?
Well done! You have successfully installed the Taboola Pixel for WooCommerce.
Next, use the Testing Tool to verify that your conversions are working smoothly.
Updated 7 months ago