Set up conversion tracking using a code snippet
ImportantOnly use this method if you are unable to use the Taboola Pixel app.
Overview
The recommended flow for setting up Shopify conversion tracking is via the Taboola Pixel app - see: Set up conversion tracking in Shopify
If you are unable to use the above method, you can still use the manual method described below.
Shopify setup
- Open your Shopify dashboard.
- Select
Settings>Customer events. - Click on
Add custom pixel(top, right):
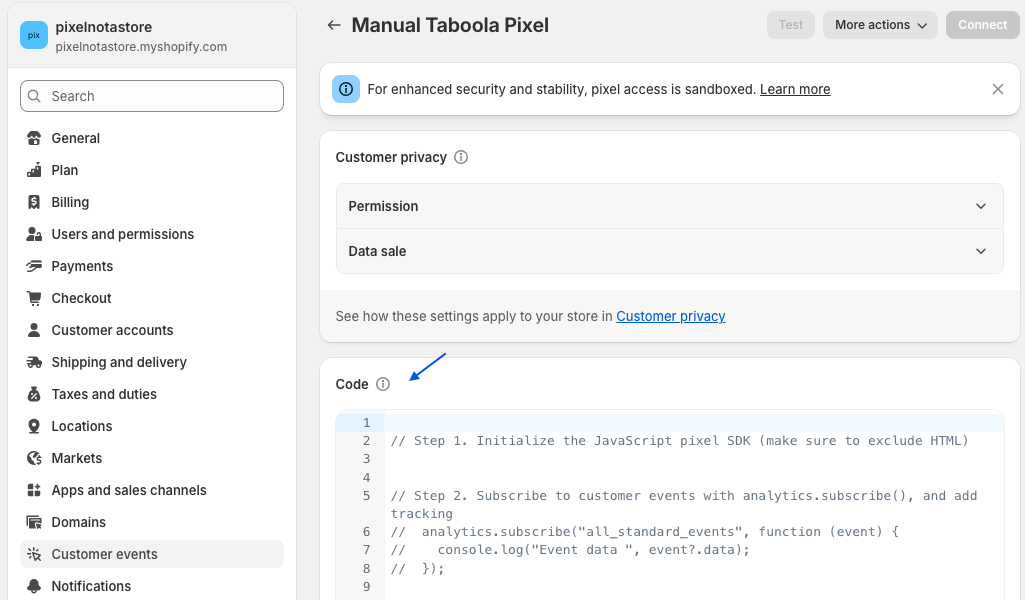
- In the pop-up that displays, type in a descriptive name for the pixel - e.g.
Manual Taboola Pixel. Then click onAdd pixel:

- Copy and paste the code snippet provided below into the
Codewindow:
Make sure to use your actual numeric Taboola Account ID.
1. Select the 'Code snippet' tab (above, right).
2. Hover with your mouse in the top, right corner of the code window and click on 'Copy'.
3. Paste the snippet into the 'Code' window in Shopify.
4. Update the first line with your actual Taboola Account ID.

(Tip: to collapse this panel, revert back to this tab.)
const your_account_id = 1234; // Replace with your actual (numeric) Taboola Account ID
// Initialize the Taboola pixel SDK
window._tfa = window._tfa || [];
window._tfa.push({ notify: "event", name: "page_view", id: your_account_id });
!(function (t, f, a, x) {
if (!document.getElementById(x)) {
t.async = 1;
t.src = a;
t.id = x;
f.parentNode.insertBefore(t, f);
}
})(
document.createElement("script"),
document.getElementsByTagName("script")[0],
"//cdn.taboola.com/libtrc/unip/your_account_id/tfa.js",
"tb_tfa_script"
);
// Search submitted event
// This event is triggered when the user submits a search
analytics.subscribe("search_submitted", event => {
_tfa.push({ notify: "event", name: "search_submitted", id: your_account_id });
});
// Collection viewed event
// This event is triggered when the user views a collection page
analytics.subscribe("collection_viewed", event => {
_tfa.push({ notify: "event", name: "collection_view", id: your_account_id });
});
// Product viewed event
// This event is triggered when the user views a product page
analytics.subscribe("product_viewed", event => {
_tfa.push({ notify: "event", name: "product_view", id: your_account_id });
});
// Product added to cart event
// This event is triggered when the user adds a product to the cart
analytics.subscribe("product_added_to_cart", event => {
_tfa.push({ notify: "event", name: "add_to_cart", id: your_account_id });
});
// Cart viewed event
// This event is triggered when the user views the cart page
analytics.subscribe("cart_viewed", event => {
_tfa.push({ notify: "event", name: "cart_view", id: your_account_id });
});
// Checkout started event
// This event is triggered when the user starts the checkout process
analytics.subscribe("checkout_started", event => {
_tfa.push({ notify: "event", name: "start_checkout", id: your_account_id });
});
// Checkout completed event
// This event is triggered when the user completes the checkout process
analytics.subscribe("checkout_completed", event => {
const checkout = event.data.checkout;
_tfa.push({
notify: "event",
name: "make_purchase",
id: your_account_id,
currency: event.data?.checkout?.currencyCode,
orderid: event.data?.checkout?.order?.id,
revenue: event.data?.checkout?.totalPrice?.amount
});
});- In Shopify, click on
Save(top), and thenConnect(top, right):

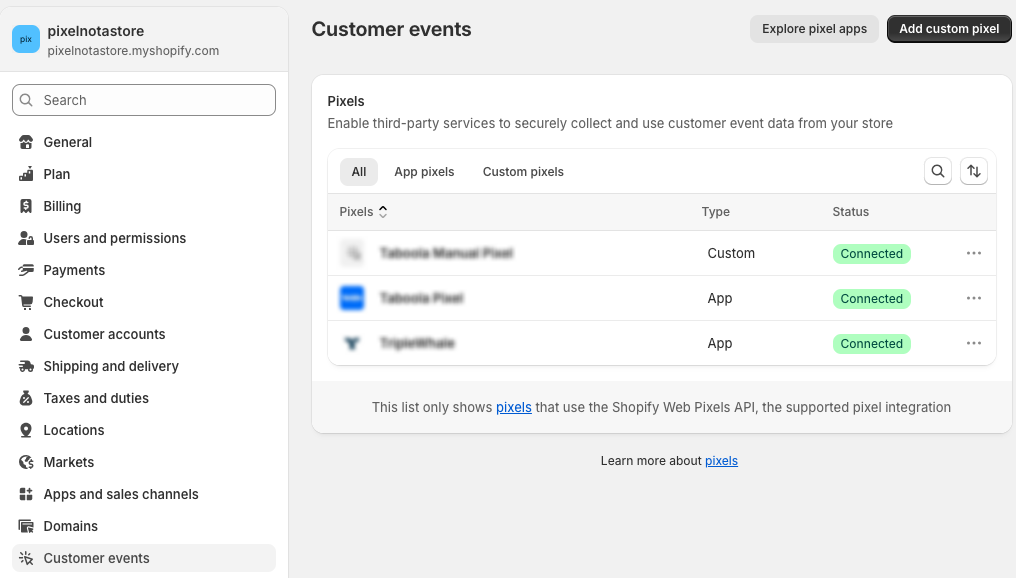
- Select
Customer Eventsin the sidebar, and confirm that the newly added pixel is listed with a status ofConnected:

What's next?
Now that you have added the pixel, you need to create conversions in Realize, as well as cater for specific cases in Shopify.
See Manually set up Shopify conversion tracking (via the app), and go through the following sections: