{ORIGINAL DRAFT} Chrome Extension
HP4U > Chrome Extension
Overview
The Taboola Chrome extension provides a Head-Up Display (HUD) of your HP4U configuration, allowing you to validate your markup, and fine-tune your settings.
TipWhen tagging your homepage, the Chrome extension can be an invaluable aid for validating your markup.
Additional resourcesThis page describes how to validate your markup.
For information about fine-tuning your settings, see the Taboola Newsroom Help Center.
First stepsIn order to use the Chrome extension, you need a Taboola Newsroom account with the relevant permissions.
For more information, reach out to your Taboola Newsroom Engagement Manager.
Installing the extension
- Install the Taboola Chrome extension from the Chrome Web Store.
Tip: Once installed, click on Extensions
 and pin
  the Taboola Newsroom
  icon.
icon.
Using the extension
Validation modes
The Chrome extension provides 2 validation modes:
- Automated (aka default) - these validations run automatically, as soon as
Display page markupis enabled (see below). - Manual - these validations are turned on manually, on a property-by-property basis.
Open the extension slide-out
- Open Google Chrome and browse to your homepage. Wait for the homepage to load fully.
Tip: Once you have enabled the extension (see below), the icon turns blue
 when ready.
 - Click on the extension icon to slide-out the extension window.
Tip: You may need to click on Extensions
to see the icon. - If you are not logged into Taboola Newsroom, the extension will prompt you to log in.
In order to use the Chrome extension, you need a Taboola Newsroom account with the relevant permissions.
Review automatic validations
-
Open the extension slide-out.
-
Enable the extension, using the toggle switch provided
 (top, right).
- Tip: At any time, use this toggle to turn off (/on) all annotations, allowing you to quickly view a 'clean' homepage.
-
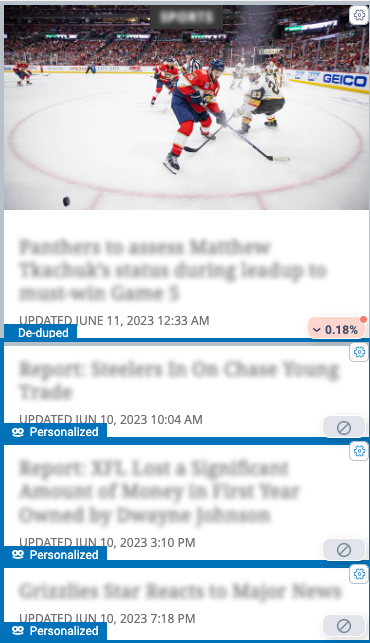
On your homepage, note how various annotations display for each item - e.g.:
- A De-duped label (bottom of relevant slot).
Indicates that the slot is curated and has been marked for deduplication.
- A
 Personalized label (bottom of relevant slot).
Indicates that the slot is serving personalized content.
- A
Settings icon ( top, right of each slot).
Used to adjust settings for each slot.
- A De-duped label (bottom of relevant slot).
-
In the extension slide-out, select the
Validationtab (middle, right). -
Click on the
Display page markuptoggle switch (middle, right). -
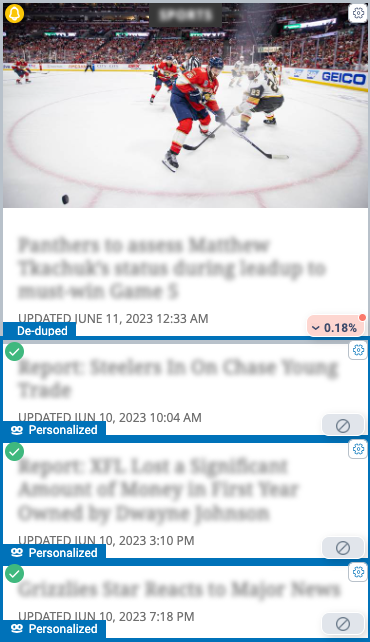
On your homepage, note how each item displays a validation icon (top, left):
-
Review the icon shown for each slot, noting those slots with a failure or warning status:
Icon | Status | Description |
|---|---|---|
 | Failure | 1 or more validations failed for this item. |
 | Warning | 1 or more properties in this item might need fixing. |
 | Success | All validations passed for this item. |
- To see more information, mouse over the status icon:
- Review each item of interest, and make any needed corrections.
Review manual validations
Before you startIn order to turn on manual validations, you must first turn on automatic validations. (above).
-
In the extension slide-out, select the
Validationtab. -
Locate the color-coded list of item properties (shown below ).
-
For each item property, use the checkbox provided to turn validations on/off.
-
For example:
- Select
Title: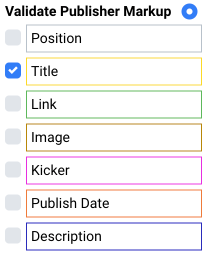
- On your homepage, annotations for
Titleare toggled on (with the same color as the property list):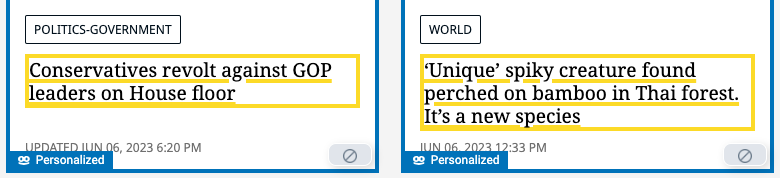
- Deselect
Title(by clearing the checkbox).On your homepage, annotations for
Titleare toggled off:
- Select
-
Toggle validations on for any properties of interest. On your homepage, each property is marked with a matching color - e.g. titles in yellow, links in green, etc.
-
The extension also marks each item with an icon - based on automatic and manual validations:
Icon | Status | Description |
|---|---|---|
| Failure | 1 or more validations failed for this item. |
| Warning | 1 or more properties in this item might need fixing. |
| Success | All validations passed for this item. |
-
To see more information, mouse over the status icon.
-
Review each item of interest, and make any needed corrections.
-
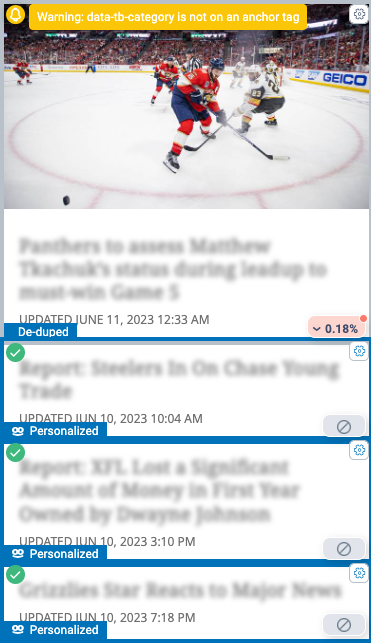
Note that a given slot might not contain the selected property at all. If that is intentional, then simply ignore the error flagged. For example:
- In the property list, the user select**
Image** (to run validations for slots that do contain images). - A given slot (shown below) does not contain an image at all.
- The extension detects that there is no
data-tb-imageattribute within that slot, and flags an error:Missing tag(s): Image. - However, since this slot is not supposed to contain an image at all, you can simply ignore the error and move on to the next slot.

- In the property list, the user select**
Updated 7 months ago